
A while back I showed you how to depot shadows from a Kat Von D and Lise Watier palette. Well, after way too long, I'll show you how to depot individual Urban Decay shadows - the old ones and the new ones. There are only two differences between doing the two, however one of the differences are a paint in the butt.
At the time, I had 9 individual UD shadows and they were taking up too much space. So, like the rest of my palettes that were just getting forgotten and tossed around, I decided to transfer it all to a Yaby freestyle palette.
*This method may work for similar packaged eye shadows
Here's what you'll need to get started:

- the shadow you want to depot
- palette that the shadow is going in
- small candle (and matches or lighter to light it)
- pliers
- tweezers
- small knife (x-acto knife, etc.)
- letter opener, or something equally as sturdy, yet thin
- an old pen
- Goo Gone
- rubbing alcohol
- cotton swabs
- a mat to work on
- if you're not using UD, you may need small round metal pieces, such as the Yaby Grippies. Not all shadow pans are magnetic
**Please note, be sure to be in a well ventilated area. Also, if you are too young to be playing with fire or sharp objects, have a parent help you.
Step one:
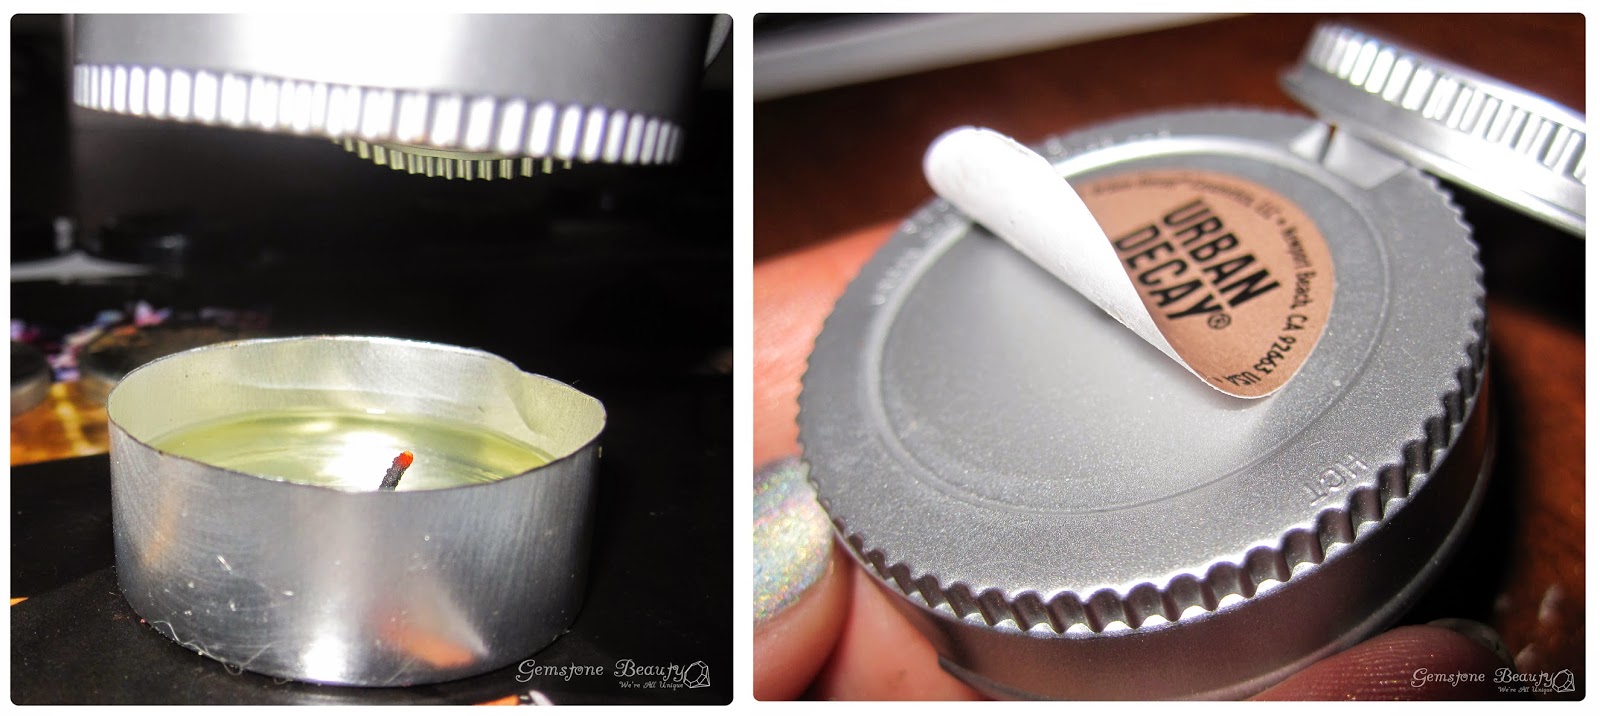

With your candle lit, open your shadow container and while holding it by the lid part, lightly wave it over the flame. Don't be too close to it! You just want to heat up the glue that's holding the label in place. Keep checking it every 20 seconds or so. You should be able to very easily remove the label with your fingers. If it's too warm, use tweezers. Set aside, label down.
*New packaging: has a film over the label. Warm it up, peel it back, and you should be able to peel off the label. Warm it again quickly if needed
Step two:

Using a letter opener (or your tool of choice), wedge it between the black part holding the shadow pan and the actual container itself. Keep going all the way around to pop it out.
*New packaging: skip this step as you can just pop it out like it's meant to.
Step three:


Using your pliers, hold the edge of the black plastic holding your shadow and in slow, small, circular motions, hold it over the flame, about 1 inch away should be good. This is the part that smells. The plastic will start to bubble. Every so often, use a pen to poke the part that's bubbled (it'll be soft, but shouldn't be melting). If you can't poke it much, bring it back over the flame. After a few tries, the pan should just pop out. If it falls face down (which it probably will), leave it. If it doesn't, carefully try to flip it. Remember, the pan is probably made of aluminum that was just over flame. It's very hot! We want the shadow facing down so that the pan can cool off.
*New packaging: Because of the shape of the pan holder, heat and push a little off center. You will have to do this several times, and you will have to go deep.
Step four:

Once all of your shadow is depotted and cooled down, take a cotton swab, dip it in Goo Gone, then rub it on the back of the pan. Using the knife, try to scrape as much glue off as possible. Once it's all gone, rub a little rubbing alcohol to help get rid of any residue.
Step five:

If your pan is not magnetic, now is when you would affix a metal backing. Once that's done, you can take your label and put it on the back of your pan. It should be tacky enough to still stick to it. Now you don't have to worry about forgetting the name of your shadow!
Step six:

Place in your empty palette. You can see in the photo above how it would fit in a Yaby Freestyle palette.
That's it! It's really simple and makes it much easier to find your shadows (or anything else for that matter). Nice & Organized!
No comments:
Post a Comment